Business Objects 4.3 Authorization Server - Google Drive
References
- https://blogs.sap.com/2021/12/08/sap-bi-4.3-sp2-whats-new-in-web-intelligence-and-semantic-layer/#GOOG
- https://blogs.sap.com/2022/12/08/microsoft-drive-support-in-sap-businessobjects-4.3-sp03-release/
- https://developers.google.com/identity/openid-connect/openid-connect#appsetup
Google Steps
- Go to the Credentials page and log in with your google admin user.
- Create a new project (or edit an existing one)

- In your new project, go to the "OAuth consent screen". Choose type of authentication and click create.
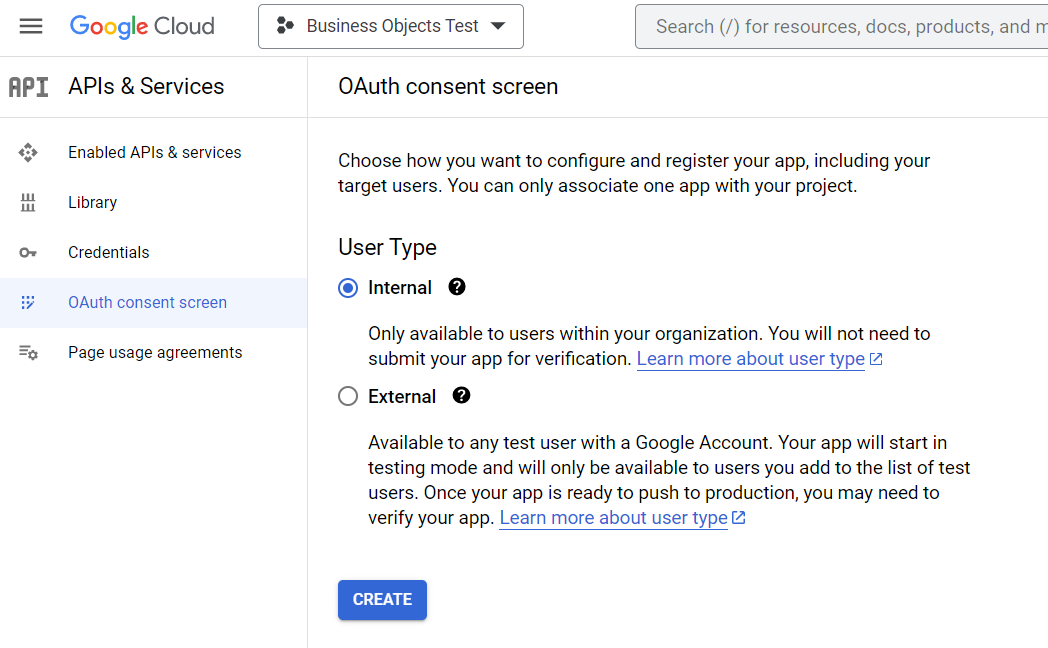
- Enter "App information", "App domain", "authorized domains", and "Developer contact information" info
-
Add Scopes
-
I checked
- openid
-
.../auth/userinfo.email
-
I manually added
-
- Click "Save and Continue" to save the OAuth consent screen settings
- Click "Credentials" in the side menu
- "Click "Create Credentials" and select "Oauth client ID"
-
Select "Web Application" and fill out the "Authorized redirect URIs" and click "Create"
https://[server]:[port]/biprws/v1/oauth2/callback - Copy down the client id and client secret. Download the json file. The json file also has the client id and client secret, plus other information needed below.
- Click OK
- Click "Enable APIs & Services" in the side menu
- Click the "+Enable APIs & Service" button
- Search for "Google Drive API" and enable it
Business Objects Steps
- In the CMC, go to the "Applications" section
- Right click "Authorization Server Configurations" and choose "Authorization Server Configurations"
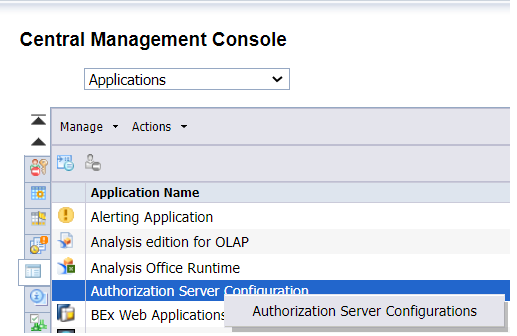
- Click "Manage -> New Authorization Server"

-
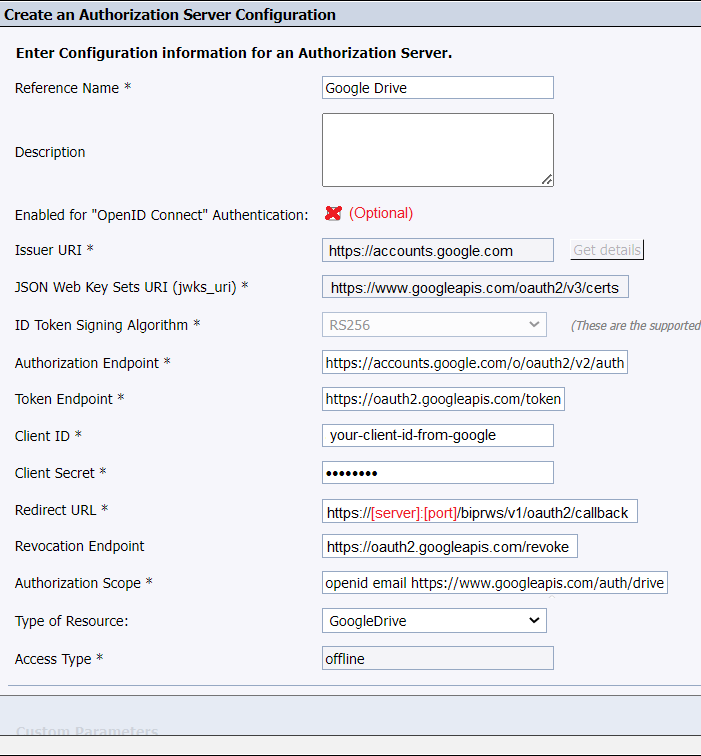
Enter the items listed below. Most of these values come from you Google API creditials JSON file
-
Reference Name** – Choose a unique random string and enter the same to identify the configuration, to recognize and choose the configuration in different workflows for achieving Authorization-based SSO.
Google Drive -
Description (Optional) – Enter any statement and keywords to describe and quickly identify the configuration out of the list of available configurations.
("Blank" in example)
-
By default, Google OAuth 2.0 can be used both for authentications and authorization. If you want to configure the OpenID Connect for authentications, set the following settings
- Enable “OpenID Connect” Authentication
- Issuer URI : https://accounts.google.com
- JSON Web Key Sets URI (jwks_uri) : https://www.googleapis.com/oauth2/v3/certs
- ID Token Signing Algorithm: RS256**
-
Authorization Endpoint – Enter the URL of the authorization server with which one can get the authorization grant
<strong>https://accounts.google.com/o/oauth2/v2/auth</strong> -
Token Endpoint – Enter the URL of the authorization server, with which one can request an access token by exchanging the authorization code
<strong>https://oauth2.googleapis.com/token</strong> -
Client ID – Enter the name of the Application which is used to register BI Landscape with the Authorization Server
(This came from the google credential json file)
-
Client Secret – Enter the specific secret code corresponding to the Application which is used in registering the BI Landscape with the Authorization Server
(This came from the google credential json file)
- Redirect URL – Enter the URL of the BI Landscape endpoint to which the authorization code has to be sent by the Authorization server after successfully validating the authorization. For this purpose, a new endpoint has been introduced in the REST API of the BI Platform, i.e. /oauth2/callback. Hence the URL should be as follows: https://\[server\]:\[port\]>/biprws/v1/oauth2/callback.
- Note:
- Here the [server] will be the system name hosting the BI landscape application server, where RESTful web services application (biprws) is deployed. And [port] will be the SSL port of the application server.
- This same url is used for the ""Authorized redirect URIs" url in the Google Steps above.
- Note:
-
Revocation Endpoint (Optional) – Enter the URL of the authorization server, with which the application can request the revocation of all previously issued Access Tokens through a specific Refresh Token
<strong>https://oauth2.googleapis.com/revoke</strong> -
Authorization Scope
<span><strong>openid email https://www.googleapis.com/auth/drive</strong></span>
- Type of Resource –
- Google Drive
- Custom Parameters (Optional) – Enter any custom parameters required to send while requesting the authorization based on any custom requirements (if needed) of the Authorization Server being configured.
- Note:
- The name of the custom parameter should be unique in the configuration
- At maximum 5 custom parameters are allowed to be configured in any Authorization configuration
- Note:
-
- Enable Google Drive Destination in Job Server
- In the CMC, go to the "Servers" section
- Find your "AdaptiveJobServer" server and go to properties.
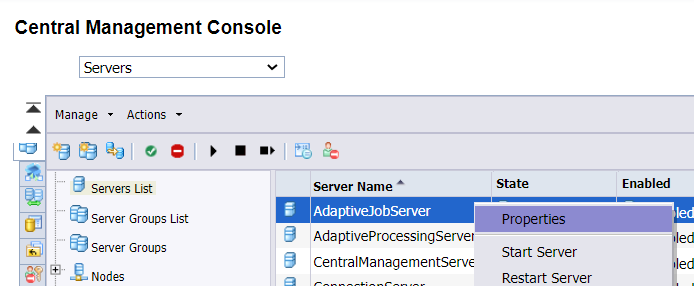
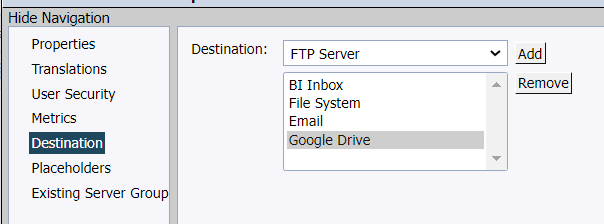
- Under "Destinations" add "Google Drive"
